Showing posts with label Wall Hanging. Show all posts

Wednesday, July 6, 2016

Welcome, Leo!

Hi! I'm thrilled to be bringing you my very first post for The Robin's Nest! Our extended family just welcomed new baby Leo into the world, and I made this cute dinosaur wall hanging for his room!


You can get a full tutorial if you'll visit The Chattering Robin's blog! Thanks for stopping by and have a GREAT day!

Sunday, May 15, 2016

Memories


Hi friends! I'm excited to be bringing you a tutorial for making a Memories wall hanging. Let's get started!


Supply list:
Chipboard sign
Acrylic paint and brush
Coordinated papers and tags
Ribbon and crochet thread
Dew Drops
Die cuts
Flowers, mini clothes pins, other embellishments
Glue, glue gun, glue dots


The first thing I did was paint the edge and the areas that would show between the letters. I just used an off-white acrylic paint for this.


Then I chose the papers that I wanted to use. I chose colors that looked good together, and patterns that could coordinate with each other.


I turned the chipboard upside down on my chosen paper and traced it, then trimmed on the inside of the line to get the shape of the letter. For some of the letters I used a solid paper on the bottom, and a patterned paper on the upper part.


Following is the paper after it's glued on to the first letter.


I used a border die to create the fancy border before I cut out the top portion of the letter. 


The first letter is finished!


Using the same technique, I cut out the remaining paper and applied it to the letters.


Some of the letters couldn't "connect" all the way while tracing. I just had to follow an imaginary line around the letter while cutting, and it worked just fine!


I added flowers, ribbons, bows, and other embellishments, along with some keys and tags hanging from the letters. And I added Dew Drops, of course! Here are some close up shots of the embellishments.


The completed project is just so cute!


Thanks for stopping by today!


Monday, November 1, 2010

Wall Hanging Tutorial


This is a wall hanging that I made for my granddaughter. This is my first tutorial, so I apologize if the instructions aren't too clear. Please e-mail me if you have any questions! Below are some of the steps in making it. I used Spellbinders nestabilities to cut the shapes, then used foam mounting tape to pop them up, and put a satin ribbon between the front and back pieces, then added a big bow at the top.


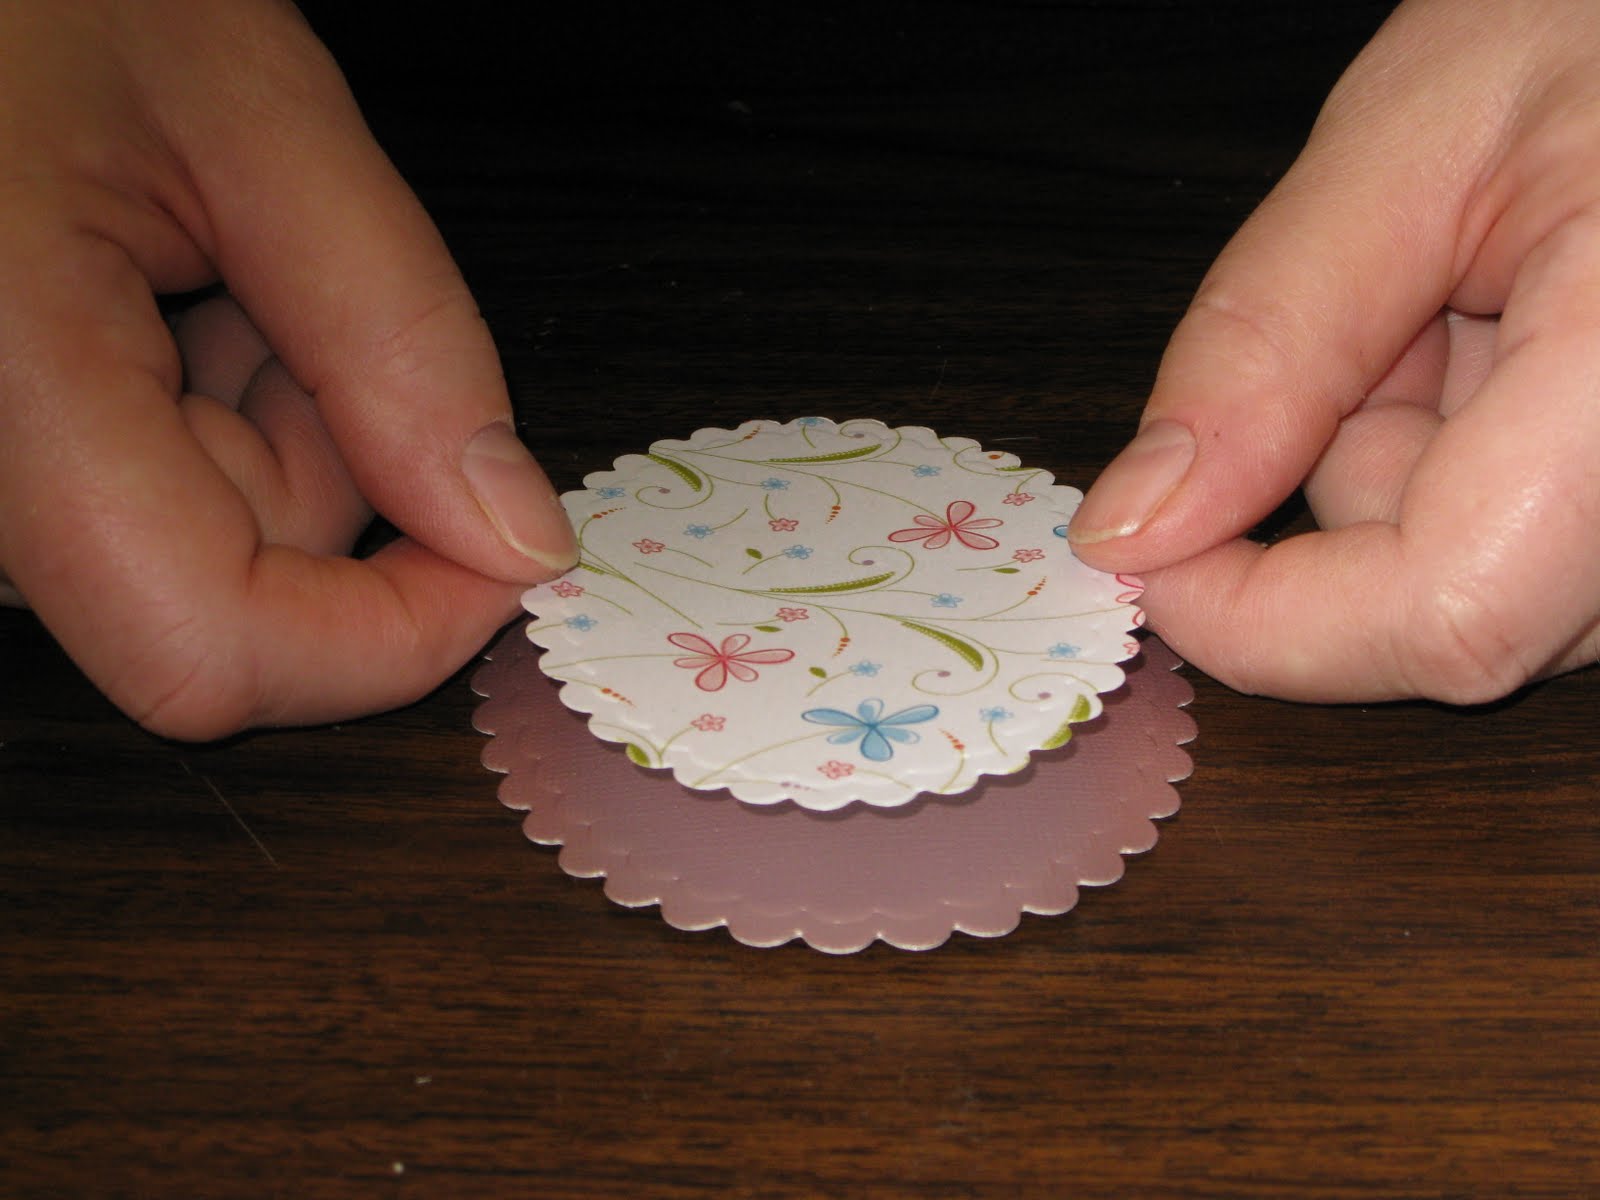
The first step is to make three sizes of Nestabilities for each letter of the name. In mine, I alternated rectangles and ovals for each letter. I also made a plain white shape of the largest size for the backing, which you will see in a later photo.
Then I die cut the letter from a Sizzlits die and attached it.


Each layer was then centered and layered on with pop dots.


This shows all three layers.


Then I made the bow that would attach to the top.


Using a wide satin ribbon for the letters to hang from, I folded back the top about 1 1/2 inches and used double-sided tape to hold it together.


With the double-sided tape as reinforcement, I cut a small slit in the satin ribbon with a craft knife.


I looped a small piece of ribbon through the back side of the knot on the bow, then pulled it through the slit on the wide satin ribbon. I knotted the ends and this became the loop by which the wall hanging could hang from your wall.


I used glue dots to attach each set of letters to the front of the ribbon, with the first letter right under the bow.


I spaced the letters evenly down the ribbon.


After the last letter, I folded up the raw end of the ribbon under the back and secured in place.


Using the white pieces that I made for backing, I added adhesive and matched up to the back of each letter and secured in place.


This is what the finished wall hanging looks like! I made one for each granddaughter. Thanks for looking!