Hi friends! Debb here from Clickersister's Gallery and I have a new project for you today!
I've made these before using the large carboard signs from the hobby store. They really are quick and easy but they look fantastic when they're done!
For this project I used a welcome sign. I chose patterned papers that went well together and Dew Drops to coordinate with the papers.
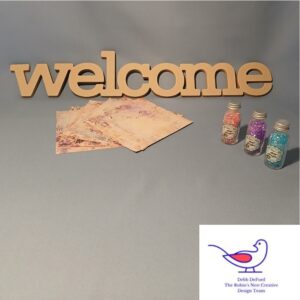
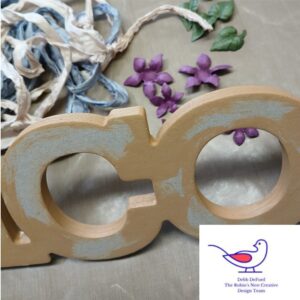
Start off by painting the edges of the cardboard. No need to paint the front, you'll be covering it with paper.
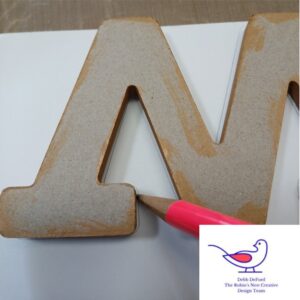
When the paint is dry, turn your paper and your cardboard face down and trace around each letter as good as you can. Where the letters are connected you'll have to "imagine" the cutting line. It's helpful to just do one letter at a time. Cut the letter out on the INSIDE of the pencil line so that it fits onto the FRONT of the letter when you turn it over. Gently glue into place.
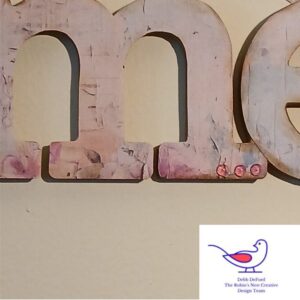
This shows all the letters after they've been applied.

Now the fun part! Using the coordinating Dew Drops, place onto certain straight edges of the letters. If you like, you could actually line whole letters, but I chose to use a few other embellishments. Some ideas are: charms, small silk flowers and leaves, and ribbon.



I actually used a sari silk ribbon as a hanger after it was finished.

I hope you enjoyed this and thanks for joining me today!
No comments:
Post a Comment